A loft conversion is one of the most effective ways to add space and value to your home without sacrificing garden area or going through the stress of moving. But while the finished result is exciting, the process itself can be disruptive if you’re not prepared. From initial planning to the final touches, knowing what to expect can make the experience far smoother and help you avoid common pitfalls.
This guide walks you through each stage of a typical loft conversion so you can plan ahead, stay in control, and ensure the project runs as smoothly as possible from start to finish.
Feasibility and Planning
Before any work begins, you’ll need to determine whether your loft is suitable for conversion. This step involves assessing the structural integrity, roof type, head height, and existing access. You’ll also need to decide what type of conversion is right for your needs—dormer, mansard, hip-to-gable, or Velux.
- Measure from floor to ridge beam to ensure you have at least 2.2m of head height
- Identify the pitch and shape of your roof to gauge space potential
- Check for any chimney stacks, water tanks, or obstructions
- Decide early whether you’ll need planning permission or can proceed under permitted development
Design and Drawings
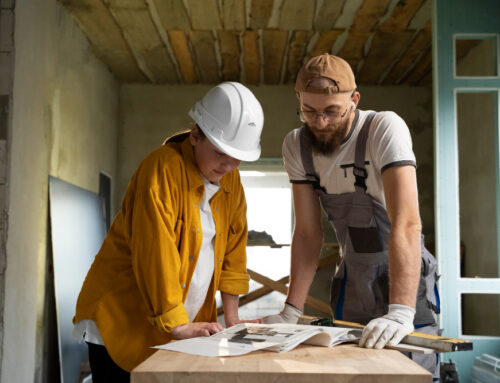
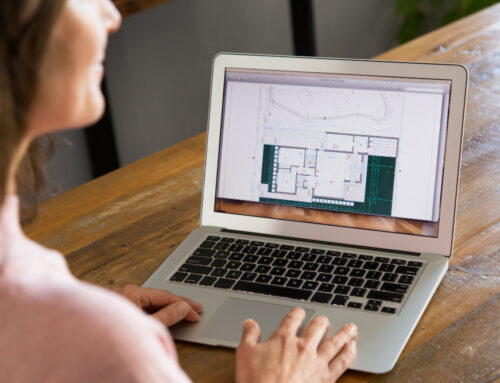
Once feasibility is confirmed, the next stage is designing your loft. This involves balancing practical requirements with aesthetic preferences. A good designer or architect will help you make the most of the space while complying with building regulations and considering structural load.
- Choose a layout that maximises natural light and usable floor area
- Factor in where the stairs will go and how they’ll affect the floor below
- Confirm insulation, fire safety, and ventilation requirements
- Submit drawings for approval where necessary and get quotes based on accurate specs
Legal and Structural Requirements
Even if your loft conversion falls under permitted development, you’ll still need to satisfy building regulations. These regulations cover everything from structural safety and fire protection to soundproofing and energy efficiency. Your builder or architect should handle these submissions on your behalf.
- Apply for building regulations approval before construction begins
- Consult a structural engineer to specify beams and joists
- Obtain a Party Wall Agreement if work affects an adjoining property
- Ensure your contract includes responsibility for any legal approvals and inspections
Preparing Your Home for Work
Before the team arrives on-site, there’s a preparation phase to get your home ready for building work. This involves making space, protecting existing areas from dust and damage, and discussing logistics with your builder—particularly if you’ll be living in the home throughout the project.
- Clear out the loft and create access routes for tools and materials
- Protect carpets and furniture in the areas leading to the loft
- Agree on working hours, parking arrangements, and delivery schedules
- Discuss how utilities like electrics and water will be managed during the build
Structural Work and Steel Installation
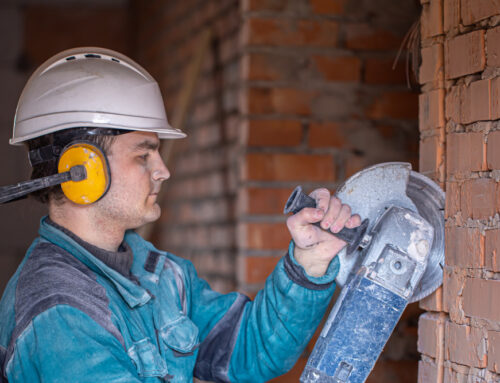
The first major task during construction is making the space structurally sound. This often involves inserting steel beams to support the new floor and roof. These works are essential for safety but can be noisy and disruptive depending on access and layout.
- Temporary scaffolding may be erected to support roof access
- Steel beams are craned in or manually installed depending on site conditions
- Floor joists are laid to create a new subfloor ready for insulation
- Load-bearing walls below may require strengthening to support added weight
Roof Alterations and External Structure
At this stage, the loft begins to take shape from the outside. If you’re having a dormer or mansard extension built, this will be the most visible change. Weather protection becomes crucial here, and good builders will ensure the property remains watertight throughout.
- Roof tiles are carefully removed and stored for reuse or replaced
- Dormer frameworks are constructed and covered in breathable felt
- Windows and rooflights are installed to bring in daylight
- The external shell is weatherproofed before internal work continues
Insulation, Plumbing, and Electrics
Once the new structure is complete, interior work can begin. Insulation is added to meet thermal regulations, followed by the first fix of plumbing and electrics. This stage sets the groundwork for heating, lighting, and any ensuite installations.
- Rigid or quilt insulation is fitted between rafters and joists
- Electrical wiring is installed for sockets, lighting, and smoke alarms
- Plumbing for radiators, bathrooms, or water tanks is put in place
- Building control may inspect the work before moving to the next stage
Internal Walls and Staircase Installation
Partition walls are added next to divide the loft into rooms and define the layout. The new staircase is also installed—usually through an existing landing—providing permanent access to the space. Both are transformative steps that make the loft feel like a proper room.
- Internal stud walls are erected and plasterboarded
- Fire-rated doors are fitted to comply with building regulations
- The staircase is measured and fitted with consideration to head height
- Floorboards and joists are screwed securely into place beneath your feet
Plastering and Second Fix
With the structure in place, the plastering begins. This gives your new loft a clean and smooth finish, ready for decoration. The second fix phase includes the installation of light fittings, plug sockets, radiators, doors, and bathroom fixtures if applicable.
- Plasterers skim the walls and ceilings for a paint-ready surface
- Skirting boards, architraves, and internal doors are fitted
- Bathroom units, tiles, and heated towel rails are installed
- Light switches, ceiling fittings, and socket plates are wired in
Final Checks and Certification
Before signing off, building control will inspect the finished conversion to ensure it meets all regulations. You’ll receive a completion certificate, which is vital if you plan to sell your home in the future. The final snagging checklist will also be reviewed and addressed by your builder.
- Walk through the loft with your builder to identify any defects or missed details
- Ensure smoke alarms and fire safety features are tested and operational
- Confirm compliance with energy efficiency and ventilation standards
- Collect your building completion certificate and warranty documentation
Decorating and Furnishing
Once the build is officially complete, the space is yours to decorate. Whether it’s a master bedroom, home office, or playroom, this is the point where you make the loft your own. With a blank canvas, you can get creative with paint, flooring, and storage.
- Use light colours and mirrors to enhance the sense of space
- Fit wardrobes and storage units into eaves and awkward angles
- Choose flooring that suits the room’s purpose—carpet for bedrooms, vinyl for bathrooms
- Add finishing touches like blinds, shelves, and personal décor
Conclusion
The loft conversion process is a major undertaking, but with the right preparation and professional support, it can run smoothly and deliver incredible results. From the initial design and structural work to plastering, certification, and final decoration, each phase plays a critical role in turning your unused attic into a comfortable, valuable living space.
By knowing what to expect at every stage, you’ll be better equipped to make informed decisions, manage your budget, and ensure your home life remains as undisturbed as possible throughout the transformation. Whether you’re building a new bedroom or a bright workspace, a loft conversion is a smart investment—and a highly rewarding one.