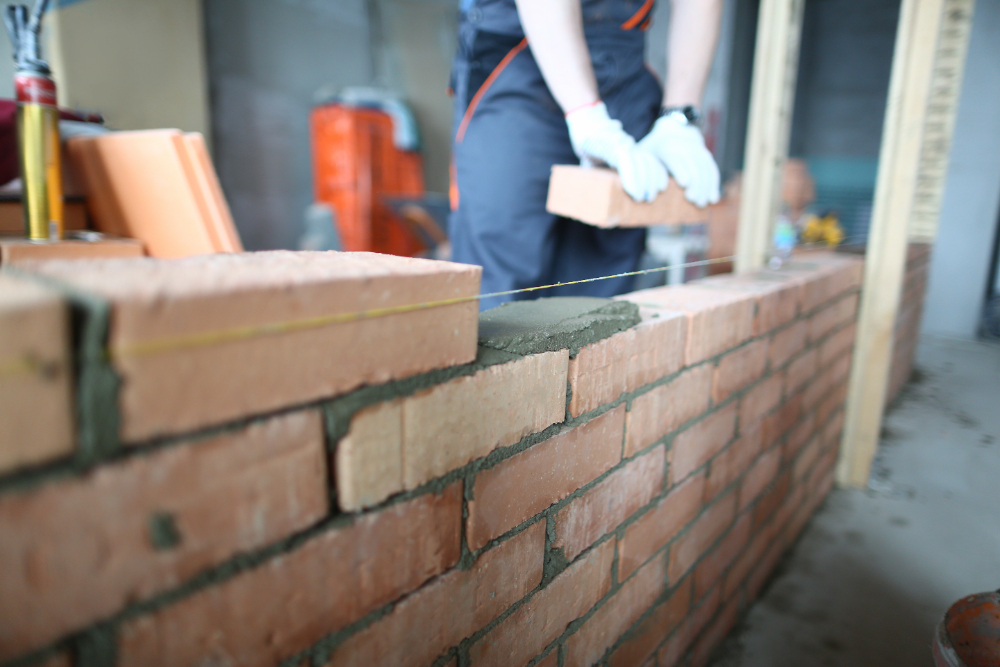
Whether you’re planning to build a garden wall, repoint your home, or simply want a better understanding of the construction process, learning the basics of bricklaying can be incredibly useful.
While professional bricklayers are essential for structural and large-scale projects, having a solid grasp of bricklaying techniques can help you tackle small DIY tasks with confidence—or at least allow you to supervise a job more knowledgeably.
In this comprehensive guide, we’ll explore the core bricklaying techniques every homeowner should know. From preparing the foundations to choosing the right bond pattern and applying mortar correctly, these insights will help you understand the skills behind solid, long-lasting brickwork.
Why Learn Bricklaying Techniques?
Understanding how bricks are laid gives you more control over your building or renovation projects. Whether you’re working alongside tradespeople or taking on small masonry jobs yourself, knowing the basics helps ensure:
- Better communication with contractors
- Fewer mistakes and misunderstandings
- Improved DIY capabilities for small projects
- Greater appreciation of good workmanship
- Confidence when assessing quotes or timelines
Bricklaying isn’t just about stacking bricks—it’s a craft that blends precision, planning, and physical effort. Even a small garden wall or barbecue area benefits from correct technique and attention to detail.
Understanding the Basics: Bricks, Mortar, and Tools
Before you begin laying bricks, it’s important to understand the components involved and the tools you’ll need.
Types of Bricks
- Clay bricks: Traditional, durable, and commonly used in UK construction.
- Concrete bricks: Uniform in size and cost-effective, often used in internal or non-visible walls.
- Engineering bricks: High-strength, low water absorption, ideal for foundations and damp-prone areas.
Mortar Mix
Mortar binds the bricks together. A typical mortar mix for general brickwork is:
- 4 parts soft sand
- 1 part cement
- Add water gradually until it reaches a thick, workable consistency
For exposed or load-bearing walls, lime may also be included in the mix for flexibility and breathability.
Essential Tools
- Trowel: For applying and shaping mortar
- Spirit level: For checking horizontal and vertical alignment
- Brick line and pins: To maintain a straight and level course
- Jointing tool: For creating neat mortar joints
- Club hammer and bolster chisel: For cutting bricks
- Wheelbarrow, bucket, and shovel: For mixing mortar
Preparing the Base and Foundation
All brickwork must start on a solid foundation. Skipping or rushing this step leads to instability, cracks, and uneven walls.
Steps for Preparation
- Mark out the area and ensure it’s square and level.
- Dig a trench for foundations—typically 150–300mm deep for small walls.
- Pour concrete and allow it to cure completely before starting brickwork.
- Damp-proof membrane or DPC should be laid above the foundation for external walls to prevent rising damp.
For garden walls or landscaping projects, a concrete footing that’s at least twice as wide as the brick is ideal.
Mastering the Mortar Bed
A consistent mortar bed ensures the bricks are level and properly bonded.
Tips for Applying Mortar
- Use the trowel to spread an even layer (around 10mm thick) across the base and the end of each brick (the “perp” or perpendicular joint).
- Don’t overload—too much mortar leads to gaps and mess.
- Apply enough to hold the brick in place, but not so much that it spills excessively when pressed down.
Consistency is key. Mortar that is too dry won’t bond properly; too wet and it will sag or slump under the weight of the bricks.
Laying the First Course
The first row (or course) is the most important. If it’s not straight and level, the rest of the wall will follow suit.
How to Lay the First Course
- Lay a brick at each end and use a string line between them to mark a straight line.
- Use the spirit level to ensure each brick is level and aligned with the string.
- Tap bricks gently with the handle of the trowel or a rubber mallet to adjust.
- Check both horizontal and vertical levels as you go.
Once the first course is in place, continue to check each subsequent row against it.
Choosing the Right Bond Pattern
Brick bond patterns not only influence the strength of the wall but also its visual appearance.
Common Brick Bonds
- Stretcher Bond: Bricks laid with the long face showing, each course offset by half a brick. Ideal for cavity walls and popular in modern homes.
- Header Bond: Bricks laid with the short end (header) facing out. Strong and compact—often used for curved walls.
- English Bond: Alternating rows of headers and stretchers. Very strong and traditional, common in load-bearing walls.
- Flemish Bond: Alternating headers and stretchers in each course. Decorative and symmetrical, but more complex to lay.
Your choice of bond will depend on structural requirements and aesthetic preference.
Maintaining Alignment and Level
Good brickwork is straight, level, and consistent. Maintaining alignment is one of the most important aspects of a successful build.
Tips to Keep It Straight
- Use a string line for every course.
- Check levels regularly with a spirit level—both vertically (plumb) and horizontally.
- Use a corner profile or timber guide at each end to keep courses level over longer distances.
- Step back frequently to visually inspect the wall.
Taking your time and checking frequently prevents small mistakes from compounding into big ones.
Cutting and Shaping Bricks
Not all bricks will fit neatly into the wall. Learning how to cut and shape bricks properly is essential.
How to Cut a Brick
- Mark the brick where you want the cut.
- Use a bolster chisel and club hammer to score a line around the brick.
- Strike the chisel firmly to split the brick cleanly.
- For more precision, use a brick saw or angle grinder (with appropriate PPE).
Ensure all cuts are clean and neat to maintain the appearance and integrity of the wall.
Finishing the Joints
Once the bricks are in place and the mortar has started to firm up, it’s time to finish the joints.
Common Joint Profiles
- Concave Joint: Compressed using a round tool. Durable and weather-resistant.
- Flush Joint: Level with the brick face. Simple but can be less weatherproof.
- Weathered Joint: Sloped outward. Sheds water well and adds character.
- Recessed Joint: Set back from the brick face. Creates shadow lines but is more exposed to weather.
Use a jointing tool to shape the mortar while it’s still slightly soft. This compresses the mortar, seals the joint, and improves water resistance.
Curing and Aftercare
After laying your bricks, the wall needs time to cure. Protecting it during this period ensures long-lasting strength and prevents problems.
Aftercare Tips
- Protect new brickwork from rain and frost for the first 48–72 hours.
- Cover with a waterproof sheet if bad weather is forecast.
- Keep the mortar damp in hot weather to prevent it from drying out too quickly and cracking.
- Avoid adding loads or fixtures to the wall until it has fully cured.
Well-cured brickwork will be stronger, more durable, and less prone to issues in the future.
Common Bricklaying Mistakes to Avoid
Even small errors in technique can lead to poor results. Here are some of the most common pitfalls:
- Rushing the job: Bricklaying is about precision, not speed.
- Inconsistent mortar mix: Uneven mix leads to weak joints and structural issues.
- Skipping alignment checks: Always check level and plumb as you go.
- Using dirty tools or bricks: Clean materials ensure better bonding.
- Neglecting expansion joints: Necessary for larger structures to allow for movement.
By being aware of these issues and working methodically, you can avoid costly repairs or rework.
When to Call in a Professional
While small garden walls or barbecues can be suitable for enthusiastic DIYers, larger structures—especially anything structural or supporting—should always be handled by a qualified bricklayer.
Reasons to hire a professional include:
- Load-bearing or structural work
- Building near boundaries or neighbours
- Working to meet planning or building regulations
- Complex bond patterns or decorative finishes
- Need for speed and guaranteed workmanship
An experienced bricklayer can ensure your wall is safe, compliant, and built to last.
Final Thoughts
Bricklaying is a valuable skill that combines technical know-how, manual dexterity, and creative problem-solving. Whether you’re planning a small project yourself or simply want to understand what’s happening on your property, learning about bricklaying techniques can save time, money, and hassle.
By understanding the materials, mastering the basics of mortar application, and keeping your work neat and level, you’ll be well on your way to tackling small brick projects confidently—or working more effectively with tradespeople on larger builds.
For more complex or structural work, don’t hesitate to bring in a professional. But for small-scale tasks, understanding these essential bricklaying techniques is a great place to start.